WampServer, a Windows web development environment.
This only runs on Windows computers but it is the platform I have used for over 10 years.
WampServer refers to a solution stack for the Microsoft Windows operating system, created by Romain Bourdon and consisting of the Apache web server, OpenSSL for SSL support, MySQL database and PHP programming language.
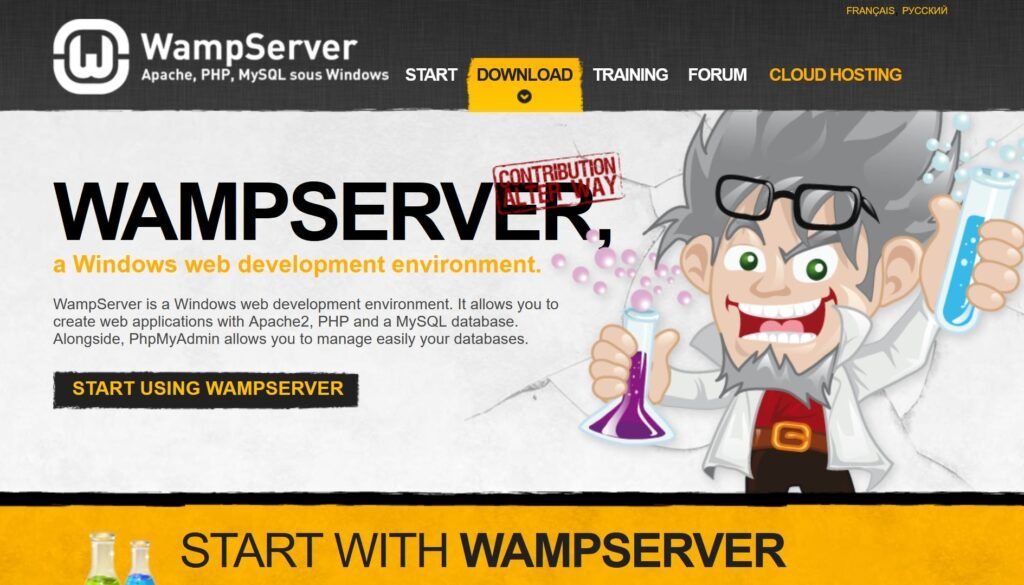
Go to https://www.wampserver.com/ to get started.
Or go to https://wampserver.aviatechno.net/ and download the latest full install version.
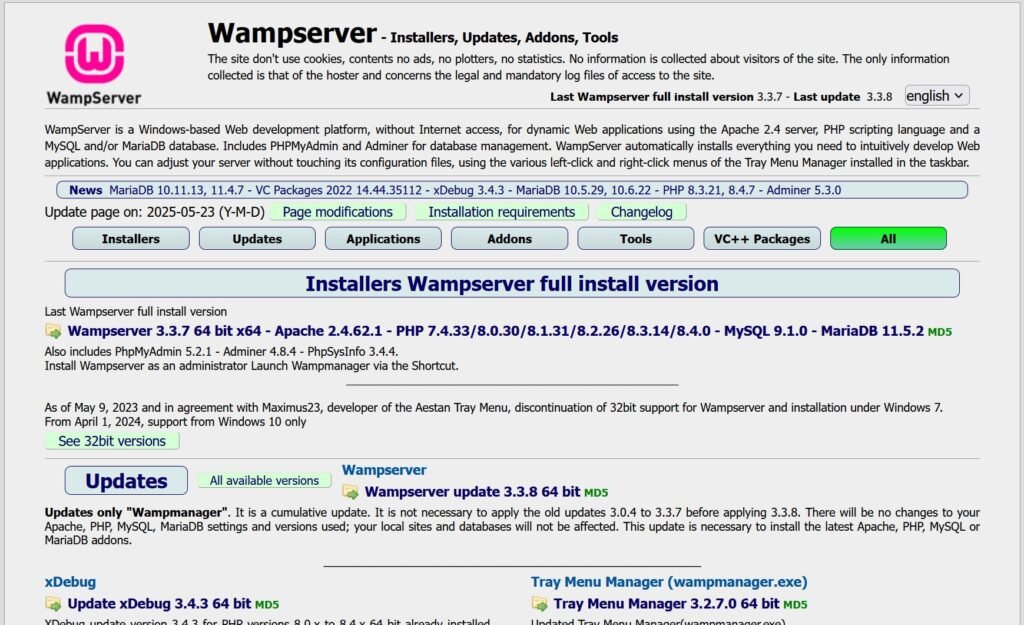
This is also the most versatile platform I have seen. It allows you to install various versions of php, mysql, mariadb, phpmyadmin, and adminer.
If you need assistance check out http://forum.wampserver.com/list.php?2
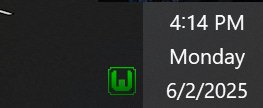
Once it is installed and running you get the green WampServer icon on the task bar.
When you click on it you will see the WampServer menu.
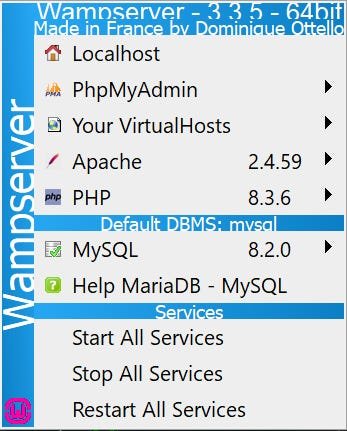
Under php you can select different versions to run and switch them in seconds.
Under mysql you can switch the version also but doing so switches the location of the database storage so beware.
Creating and managing Virtual Hosts:
What is a Virtual Host?
A virtual host is a configuration that allows a single physical server to host multiple separate websites or applications. Instead of needing a dedicated server for each website, virtual hosts enable the server to distinguish between incoming requests for different domain names and serve the appropriate content for each.
Creating a new Virtual Host
A. Open localhost in your web browser.
B. Click on Add a Virtual Host
C. Enter the name for the Virtual Host
D. Enter the absolute path of the Virtual Host folder
(this folder must allready exist – WampServer will not create it for you.)
E. Click “Start the creation/modification of the VirtualHost”
F. I just click the WampServer icon and select Restart All Services
Your Virtual Host will now be live
Using a Virtual Host
Open any web browser and type in your virtualhost name.
Leave a Reply
You must be logged in to post a comment.